Centralisation des communications
Via une application performante et/ou une plateforme web intuitive.
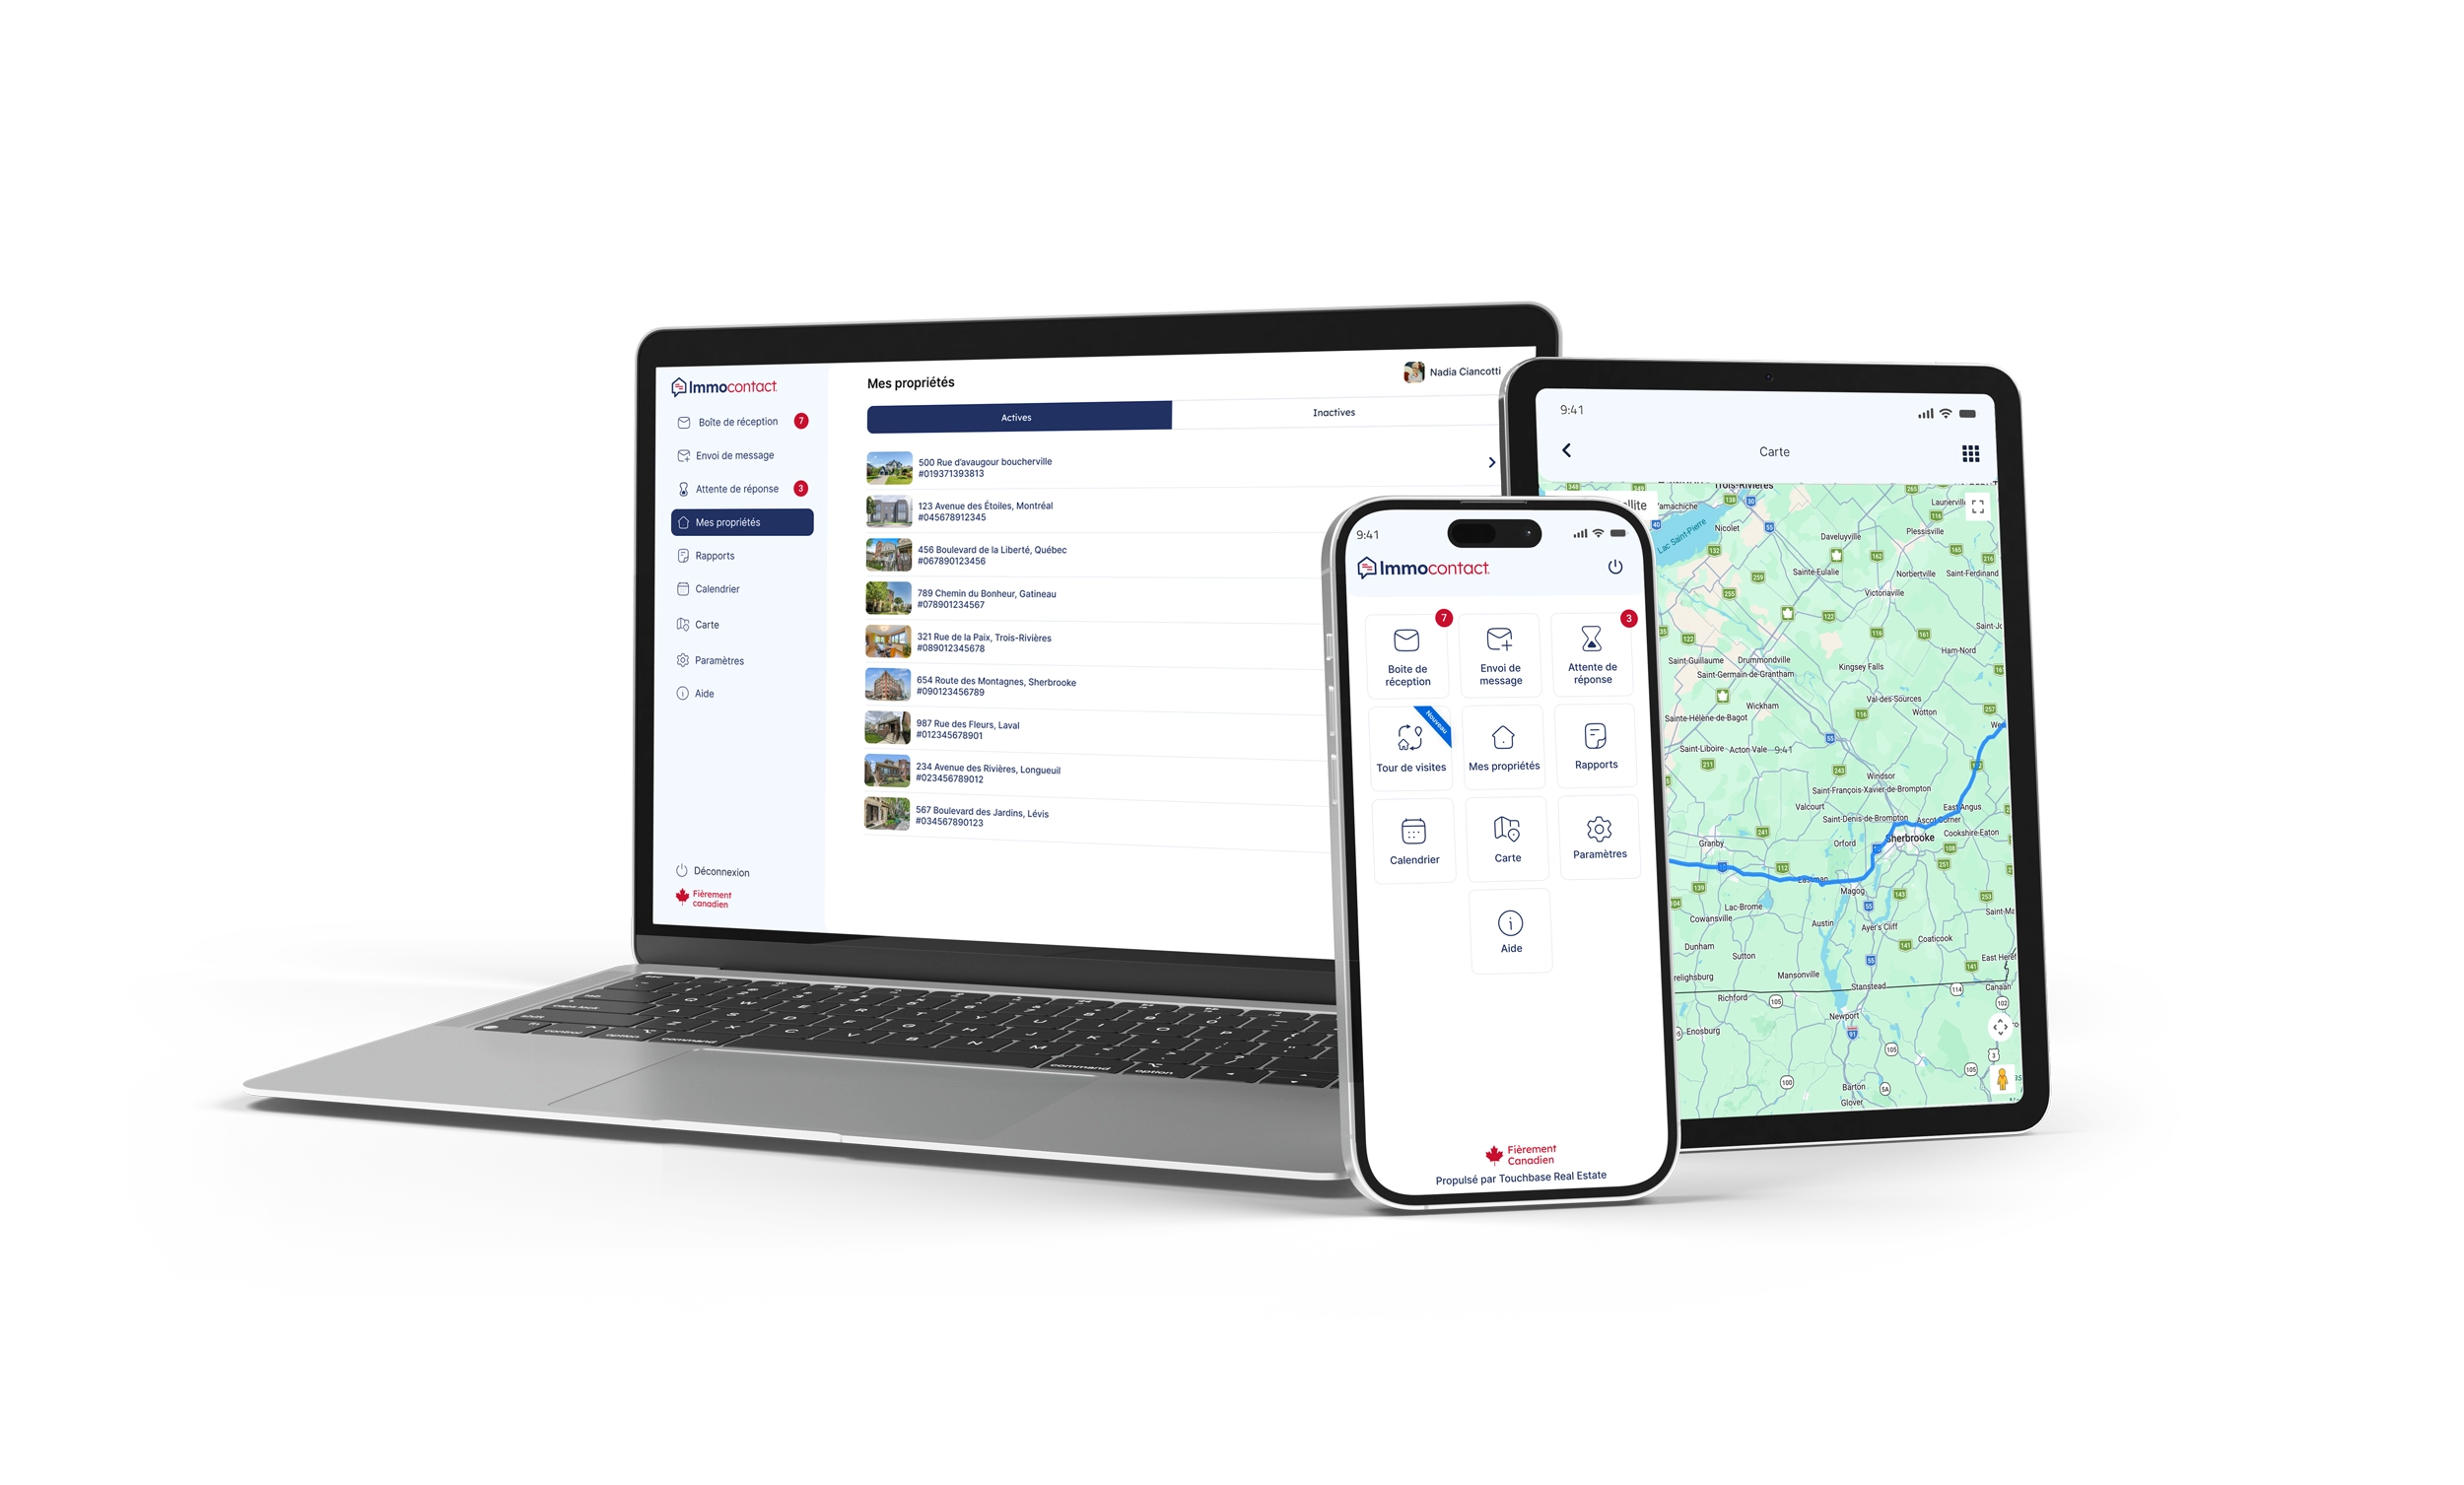
Depuis 1999, Immocontact optimise la façon dont les courtiers immobiliers partout au Québec gèrent leur quotidien.
Via une application performante et/ou une plateforme web intuitive.
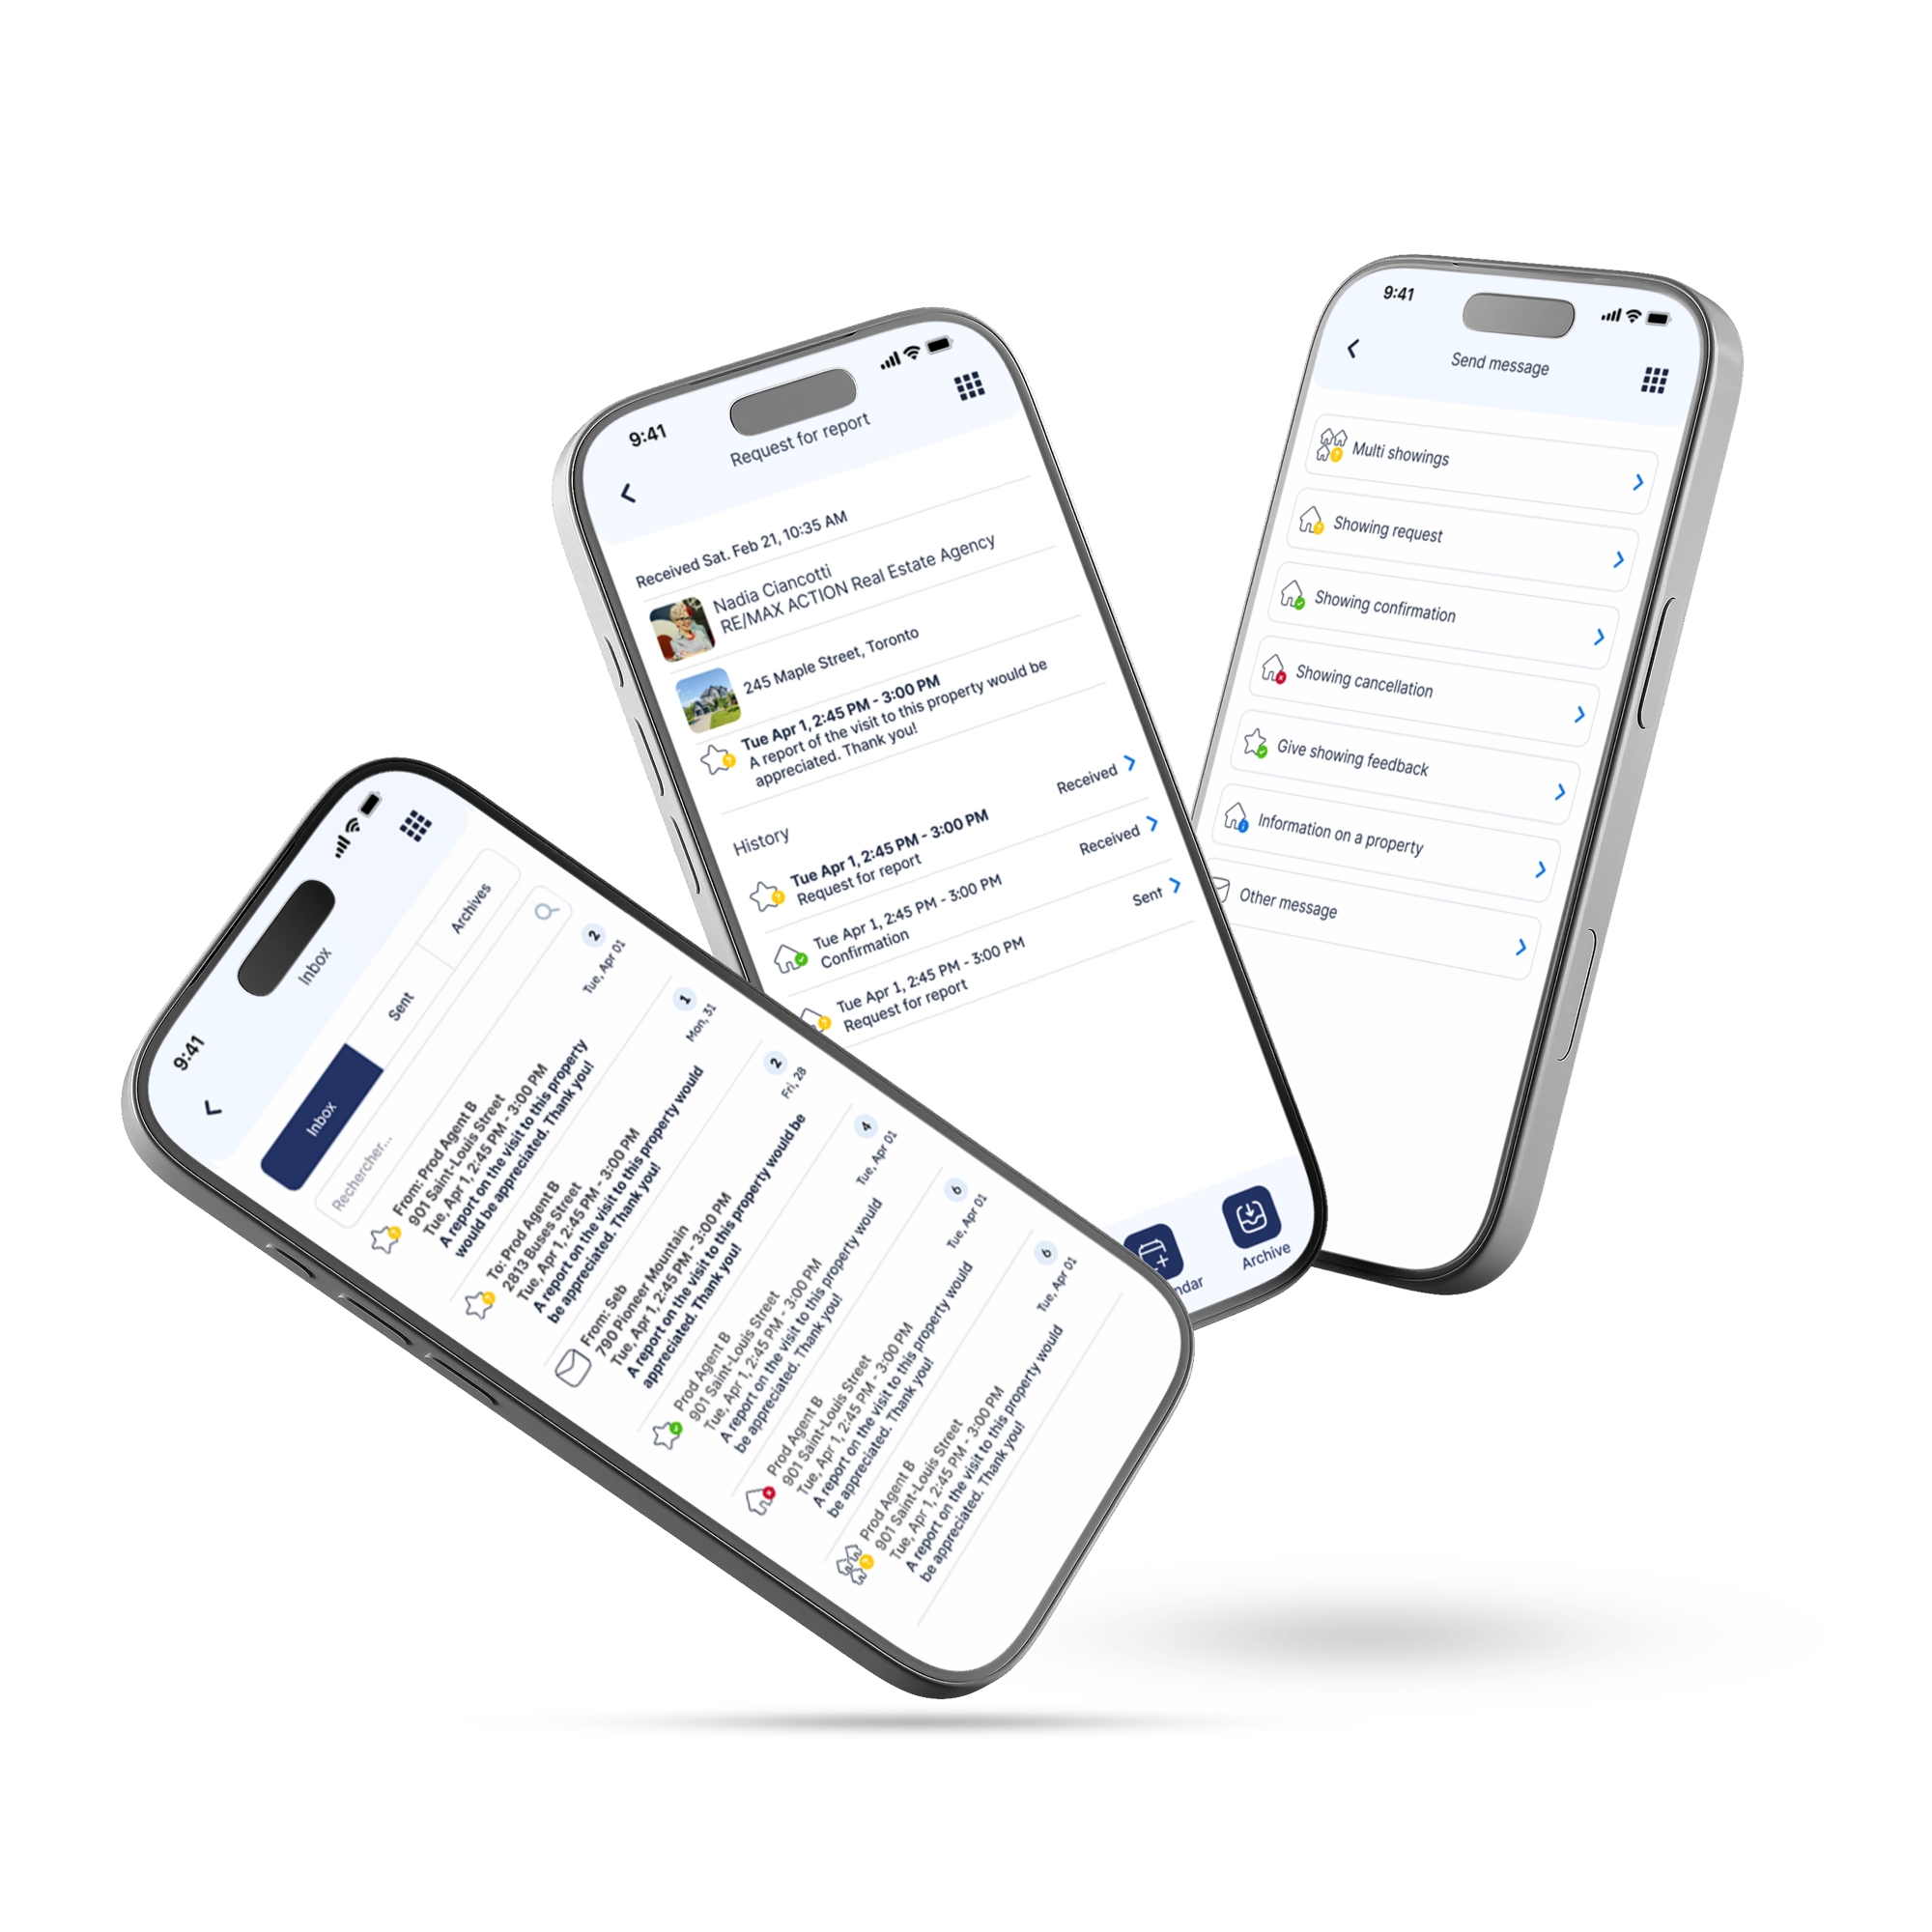
Chaque message acheminé au bon agent au bon moment.
Planifiez, confirmez et suivez vos visites immobilières.
Agenda intégré, synchronisé sur tous vos appareils.
Un espace exclusif pour que vos adjoints gèrent vos communications.
Collectez les retours clients sans effort manuel.
+ Et beaucoup plus pour accélérer chaque opportunité immobilière, de la prise de contact jusqu'à la vente.